Measuring Force: How Much Pull Is Too Much? A Beginner’s Guide to Leash Pressure
Curious how hard your dog actually pulls — and whether it’s doing harm? Leash pressure isn’t just about annoyance or arm fatigue. Sudden, high forces can stress a dog’s neck, trachea, and shoulders; repeated strain can create long-term soreness or behavior issues. This practical guide explains the basics of leash force, how pulling transfers to a dog’s body, easy low-cost ways to observe force at home, and simple thresholds that tell you when it’s time to change tools or get professional help.
The basics: what leash force means for your dog
When a dog pulls, force travels from the leash into whatever it’s attached to — most commonly a collar or a harness. How that force affects the dog depends on three things:
-
Where the leash attaches. A collar concentrates force around the neck and windpipe. A chest or front-clip harness spreads force across the chest and shoulders.
-
How the force is delivered. A steady, low-level pull is different from a sudden, high-peak jerk. Quick spikes (lunges) are more likely to cause injury or startle a dog.
-
Dog size and anatomy. Small breeds and brachycephalic (short-nosed) dogs are more vulnerable to tracheal and airway issues; large strong dogs transfer more absolute force to any attachment point.
So…it’s not just “how much” but “where” and “how fast.”
Low-cost ways to observe and roughly measure pulling force at home
You don’t need lab gear to get meaningful data — a phone and a luggage scale go a long way.
1) Luggage-scale test (simple and fairly informative)
What you need: a handheld luggage scale (reads in pounds/kilograms), your dog’s usual leash, and a quick-release harness (recommended for safety).
How to run it:
-
Clip the luggage scale between the leash and your dog’s harness D-ring (do not test on a thin collar — use a harness).
-
Have a helper hold your dog lightly while you gently encourage a forward tug (toy or treat placed a few feet away).
-
Let the dog pull naturally for a second or two; note the peak reading. Repeat 3 times and take the average.
What it tells you: a peak force reading and whether pulls are mostly small or include sharp spikes. Compare the same test using a collar (only if necessary and with extreme caution) to see how much force would concentrate at the neck.
Safety note: always use a harness when testing and stop if your dog becomes stressed.
2) Phone slow-motion capture (qualitative but powerful)
What you need: a smartphone with slow-motion video.
How to run it:
-
Record a short clip of your dog lunging or pulling during a normal walk.
-
Play it back in slow motion and watch the moment of impact — how quickly does the leash go taut? How much head/neck whip do you see?
What it tells you: sudden, rapid tugs (fast leash tensioning) are the dangerous moments — even if average pull is low. If you see repeated sharp jolts, aim to reduce those spikes first.
Practical thresholds: when to change tools or seek help
Exact safe-force numbers vary by dog size and anatomy, so use a mix of measured data and common-sense signals.
-
Green (manage at home): Pulls feel steady, with small peaks; dog shows no coughing, gagging, neck sensitivity, or reluctance to walk. Try gear or training tweaks first (shorter leash, front-clip harness, micro-habit training).
-
Yellow (modify gear + start training): You observe moderate peak pulls or frequent sudden tugs on slow-motion video, or luggage-scale readings that are noticeably higher than “gentle.” Switch to a front-clip or chest-distributed harness and add structured leash-training sessions. Consider an auto-brake or dynamic leash to reduce peak spikes during transitions.
-
Red (see a pro): Repeated large spikes, any sign of neck pain (coughing, reluctance to be touched, change in gait), or inability to control dangerous lunges. Stop testing at home and consult a veterinarian to rule out injury, and a certified trainer or behaviorist for management and training.
If in doubt, err on the side of safety: change gear and consult a pro rather than assuming it’s just “enthusiasm.”
A short DIY test you can do today (safety first)
-
Fit a sturdy front-clip harness and your normal leash.
-
Do a quick slow-motion video of your dog on a brief walk where they’re likely to pull once (lure with a toy out of sight).
-
Play the clip back and note whether peaks are sharp (fast) or gradual (slow).
-
If you have a luggage scale, repeat the same scenario and log peak readings. Record these numbers and the dog’s size/age to track changes after training or gear swaps.
Tip: test both collar and harness setups only if you’re checking relative distribution — never use a thin collar to absorb high force as a regular practice.
What tools actually reduce risky force
-
Front-clip harnesses steer shoulders and redirect force away from the neck.
-
Dual-clip harnesses let you choose training (front) vs. casual (back) attachment.
-
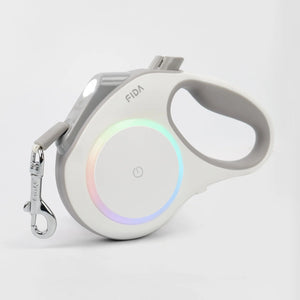
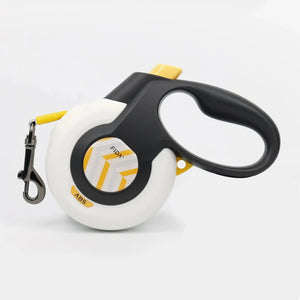
Auto-brake / dynamic leashes let normal movement happen but engage gently on sudden pulls, smoothing out spikes and reducing peak force.
Final notes & next steps
-
Combine simple measurements (luggage scale), qualitative checks (slow-motion video), and observation of your dog’s comfort.
-
If you see frequent sudden spikes or any signs of pain, stop at-home testing and get professional help.
-
Small changes — a better-fitting harness, a training plan focused on loose-leash behavior, or a dynamic leash that reduces jerkiness — can cut risk dramatically.
Measuring force is useful not to obsess over numbers, but to move from guessing to informed action. A little data plus sensible gear and consistent training will protect your dog’s body and make walks more enjoyable for both of you.

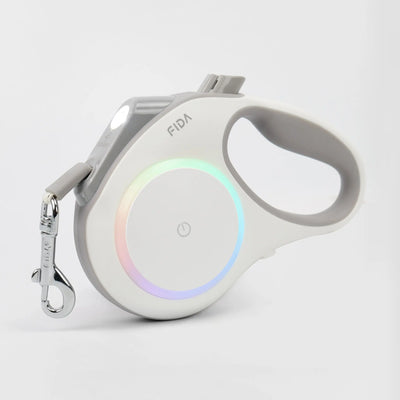
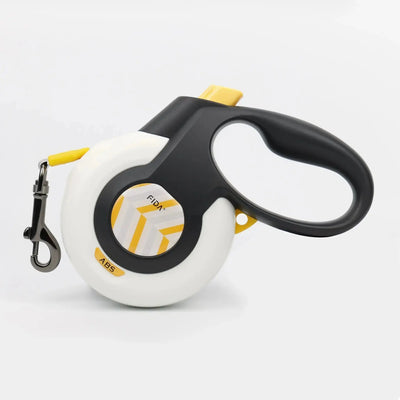
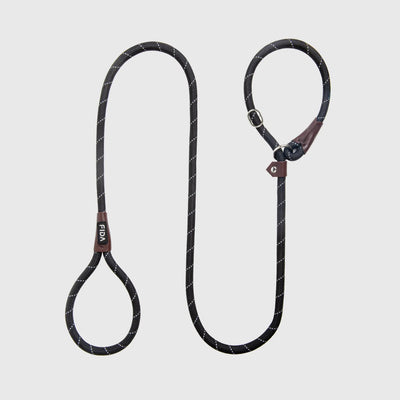
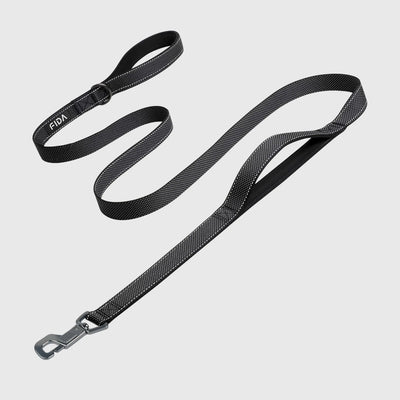
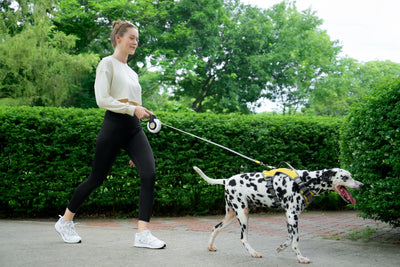
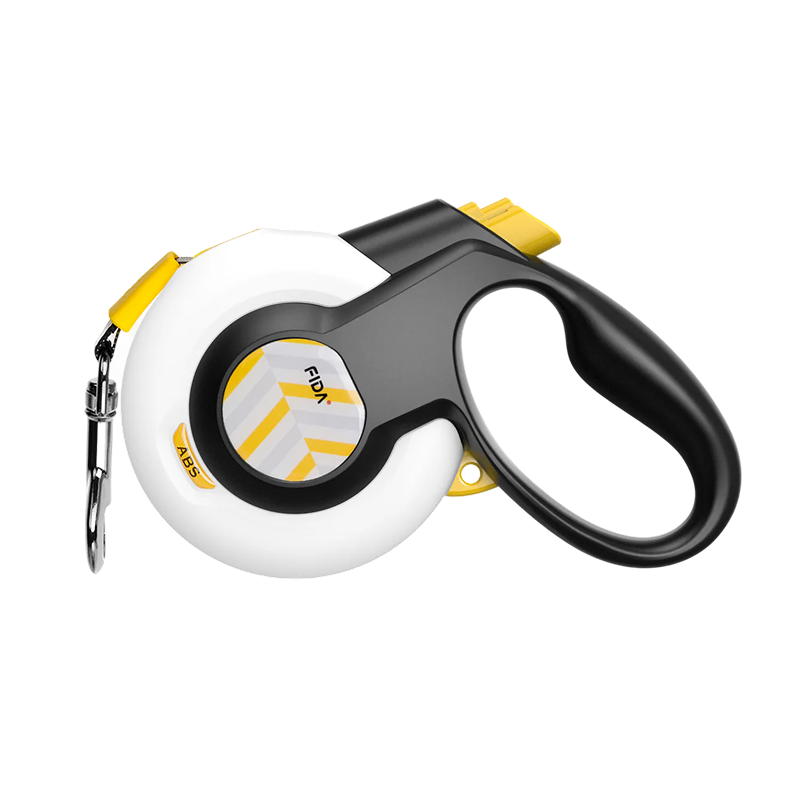 Retractable Leashes
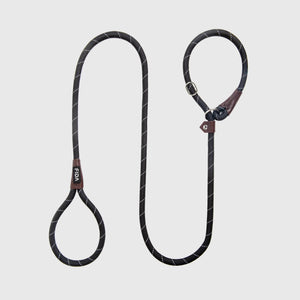
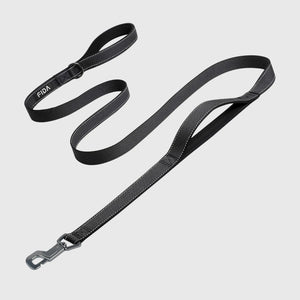
 Non-Retractable Leashes
