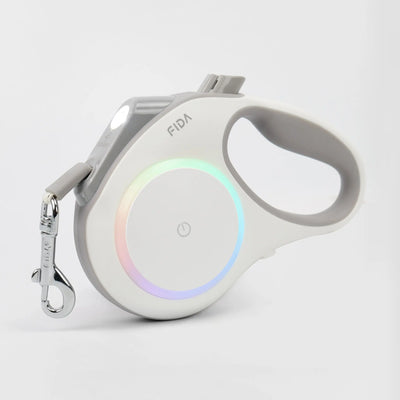

 Retractable Leashes

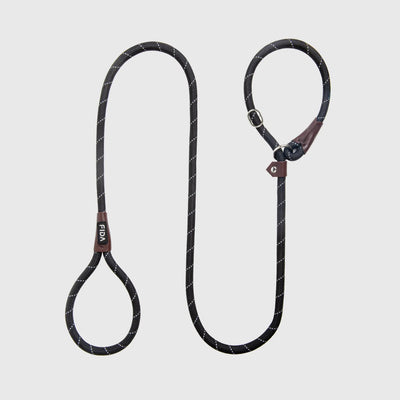
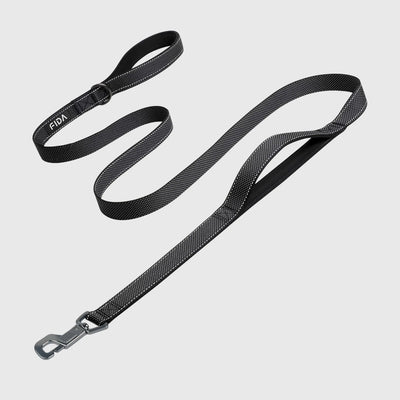
 Non-Retractable Leashes


A properly fitted harness keeps your dog comfortable, protects their shoulders and chest, and makes training easier. But many common fit mistakes are easy to overlook — and each one can change how your dog walks or cause rubbing and discomfort. Below are the eight most common harness-sizing errors, quick fixes you can try at home, and a simple photo checklist to make sure your dog’s harness fits right. There’s also a short section for growing puppies and dogs that gain or lose weight.
1. Choosing a size that’s too large
Why it’s a problem: Large harnesses shift and slide, rub under the armpits, or let a dog back out of the straps.
Fix: Follow the manufacturer’s measuring guide. With the harness on, you should be able to slide two fingers under each strap at the chest and girth — not more. If the fit still feels loose after tightening, move to the next size down.
2. Choosing a size that’s too small
Why it’s a problem: A harness that’s too tight restricts movement, chafes, and can press on the shoulder blade, shortening stride.
Fix: Make sure you can fit two fingers under straps at the snug point. Watch your dog walk for a few steps — if they look stiff or try to scratch under the straps, loosen or size up.
3. Straps sitting over the shoulder blade
Why it’s a problem: Straps that cross the scapula restrict natural shoulder rotation and shorten front-end stride.
Fix: Slide the harness forward or back slightly until straps clear the top of the shoulder blade when your dog reaches forward. Try a short trial walk and compare stride length.
4. Twisted or twisted-looking straps
Why it’s a problem: Twists change pressure points and can create hotspots that rub or loosen unevenly.
Fix: Before every walk, straighten all webbing so it lies flat against the coat. If straps twist while your dog moves, try a different entry/exit point on the harness (some styles allow repositioning) or adjust tightness.
5. Using the wrong clip for your dog’s body type
Why it’s a problem: A back-clip works well for calm walkers but gives less steering for pullers; a front-clip helps redirect shoulders but can feel unusual to some dogs.
Fix: For large, strong pullers or dogs learning loose-leash walking, start with the front-clip. For relaxed strolls, switch to the back-clip. If your harness has both, practice both setups in short sessions so your dog learns each feel.
6. Overlooking hardware and stitching points
Why it’s a problem: Even a correctly sized harness can fail at a worn buckle or loose stitch.
Fix: Inspect buckles, D-rings, and seam lines regularly. If any hardware looks cracked, corroded, or loose, retire or repair before walking.
7. Not accounting for coat thickness or seasonal changes
Why it’s a problem: A snug fit in summer may be too tight when your dog grows a winter coat (or vice versa).
Fix: Re-check fit with your dog’s seasonal coat. If you’re stuck between sizes, use a harness with more adjustment range or choose a size that allows mid-range tightening.
8. Ignoring gradual weight or body-shape changes
Why it’s a problem: Weight gain or loss, aging, and muscle development all change how a harness fits over time.
Fix: Check fit monthly (or weekly if your dog is changing weight). For temporary weight fluctuations, adjust straps; for permanent change, switch to the appropriately sized model.
Special note: Puppies and growing dogs
Puppies can outgrow gear quickly. Buying a harness with a wide adjustment range and a secure quick-fit overhead design makes sense: you can tighten or loosen straps as they grow while still keeping the harness secure. Many harnesses come in S/M/L/XL and include adjustment straps that let a size cover a modest range — for example, FIDA’s No-Pull Harness is available in S–XL and features straps you can tighten or loosen to fine-tune the fit when size differences are small. Always prioritize a fit that doesn’t pinch and allows free shoulder movement; change sizes when you can’t achieve that with adjustments.

Quick DIY trial: the 3-minute test
-
Put the harness on and adjust to the manufacturer’s suggested starting settings.
-
Do the two-finger check at chest, girth, and neck points.
-
Walk your dog for three minutes on a familiar route, filming a side view if possible.
-
Watch for short steps, head-tossing, or reluctance to extend the front leg—these are signs of restriction.
-
Re-adjust and repeat until movement looks natural.
Photo checklist (what to photograph)
Take clear photos from these angles to document fit and check later:
-
Side view of the dog standing (whole harness visible).
-
Close-up of the chest plate and front straps.
-
Top-down view showing strap placement over shoulders.
-
Close-up of adjustment buckles (to confirm slack/engagement).
Save photos and compare over weeks to spot gradual fit changes.
When to seek professional help
If you notice persistent limping, soreness, persistent chafing, or a sudden change in gait after fitting a harness, consult your vet or a qualified trainer. They can rule out medical issues and advise whether fit or function is the cause.
Final tips
-
Make harness fit part of your routine — a quick glance and two-finger check before each walk prevents many issues.
-
Use the same harness during training sessions so your dog learns consistent movement with consistent gear.